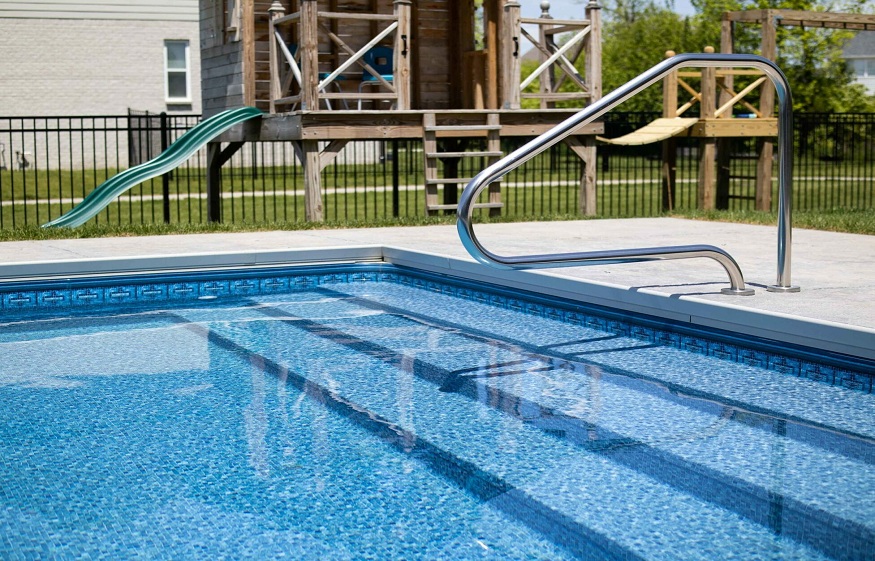
An inground swimming pool is one of the most exciting and valuable additions you can make to your home. It not only creates a space for relaxation, entertainment, and exercise, but also enhances your property’s aesthetics and overall value. However, the process of building and installing an inground swimming pool is complex and requires careful planning, skilled labor, and the right materials.
This comprehensive guide walks you through each step of the installation process—from design and excavation to plumbing, decking, and final touches—so you can make informed decisions and enjoy a smooth, successful pool project.
Step 1: Planning and Design
Every successful inground pool project begins with careful planning and design.
Key Considerations:
- Purpose: Will your pool be used for family recreation, lap swimming, entertaining, or relaxing?
- Pool Type: Choose between vinyl liner, fiberglass, or concrete (gunite/shotcrete).
- Shape and Size: Select a design that complements your yard and fits your lifestyle.
- Features: Think about steps, tanning ledges, water features, spas, and lighting.
- Budget: Include costs for excavation, plumbing, electrical work, decking, landscaping, and maintenance.
Hiring a qualified pool builder or landscape architect will ensure your design is both functional and beautiful.
Step 2: Permits and Regulations
Before any construction begins, you must obtain the proper permits from your city or county. Your contractor will typically handle this process, which includes:
- Zoning approvals
- Building permits
- Electrical and plumbing permits
- Safety regulations (e.g., fencing, gates, alarms)
Compliance is essential to avoid delays, fines, or unsafe installations.
Step 3: Excavation
This is the process of digging the hole where your pool will be installed.
What to Expect:
- Site is marked and cleared
- Heavy equipment is used to dig according to precise measurements
- Soil is hauled away or repurposed on-site
- Ground is compacted and leveled
Step 4: Structural Construction
Each pool type has a unique installation method. Here’s how the structural phase varies by material:
Vinyl Liner Pools:
- Steel or polymer wall panels are bolted together and braced
- A sand or grout bottom is shaped and smoothed
- A custom vinyl liner is installed and vacuum-sealed
Fiberglass Pools:
- A pre-formed fiberglass shell is delivered and lowered into place
- Leveling and plumbing are completed
- Backfill is added with sand, gravel, or flowable fill
Concrete Pools:
- Steel rebar is installed to form a cage-like framework
- Gunite or shotcrete is sprayed over the rebar to create a durable shell
- Concrete is cured for several weeks before finishing
This step provides the structural integrity your pool needs to last for decades.
Step 5: Plumbing and Electrical Installation
Systems Include:
- Skimmers and drains
- Water return lines
- Pump and filter system
- Heater (gas or electric)
- Underwater lighting
- Automation systems
- Bonding and grounding for electrical safety
These components are essential for water quality, efficiency, and user comfort.
Step 6: Decking and Coping
With the pool structure in place, attention turns to the surrounding area.
Decking Options:
- Concrete (brushed or stamped)
- Pavers
- Natural stone
- Wood or composite
Coping:
The coping is the edging material that separates the pool from the deck. It can be made of stone, concrete, or tile and provides a finished look while improving safety and drainage.
Well-designed decking ties the pool into the rest of your backyard and adds usable entertaining space.
Step 7: Interior Finishing (Concrete Pools Only)
If you’re installing a concrete pool, this is when the interior finish is applied.
Finish Types:
- Plaster
- Pebble
- Quartz
- Tile
These materials give your pool its final texture and color. Once applied, they must cure for several days before the pool can be filled with water.
Vinyl and fiberglass pools skip this step since their finishes are pre-installed.
Step 8: Filling and Balancing
With all construction complete, it’s time to fill the pool and prepare it for swimming.
Final Tasks:
- Fill the pool with water (via hose or water truck)
- Start the filtration system
- Add and balance pool chemicals (chlorine, pH, alkalinity, calcium)
- Test all plumbing, lighting, and mechanical systems
Your contractor may offer a pool startup service to ensure everything is working properly and teach you how to care for your pool.
Step 9: Safety and Compliance
Before the pool is officially open for use, all safety features must be installed and inspected.
Safety Requirements:
- Fencing (usually 4 feet high with self-latching gates)
- Pool alarms
- Safety covers
- Anti-entrapment drain covers
Following these steps ensures the safety of your family and complies with local laws and insurance policies.
Step 10: Final Inspection and Pool School
A final inspection ensures your pool meets all building codes. After approval, many contractors offer a “pool school” where they’ll walk you through:
- Equipment operation
- Water testing and chemical maintenance
- Cleaning procedures
- Seasonal opening and closing
Learning how to maintain your pool properly is key to protecting your investment.
How Long Does It Take to Build an Inground Pool?
Pool TypeAverage Installation TimeVinyl Liner3–5 weeksFiberglass1–3 weeksConcrete6–12+ weeks
Final Thoughts
Installing an inground swimming pool is a significant home upgrade that brings years of fun, relaxation, and lifestyle enhancement. By understanding each step of the process—from design and permits to excavation and finishing—you’ll be better prepared for the journey ahead.
Work with an experienced pool contractor who can help you choose the right pool type, manage timelines, and deliver a final product that exceeds expectations. With thoughtful planning and expert pool installation Fishers, your dream pool can become a reality—and your backyard will never be the same.

